Framing and wall/floor paneling
Share
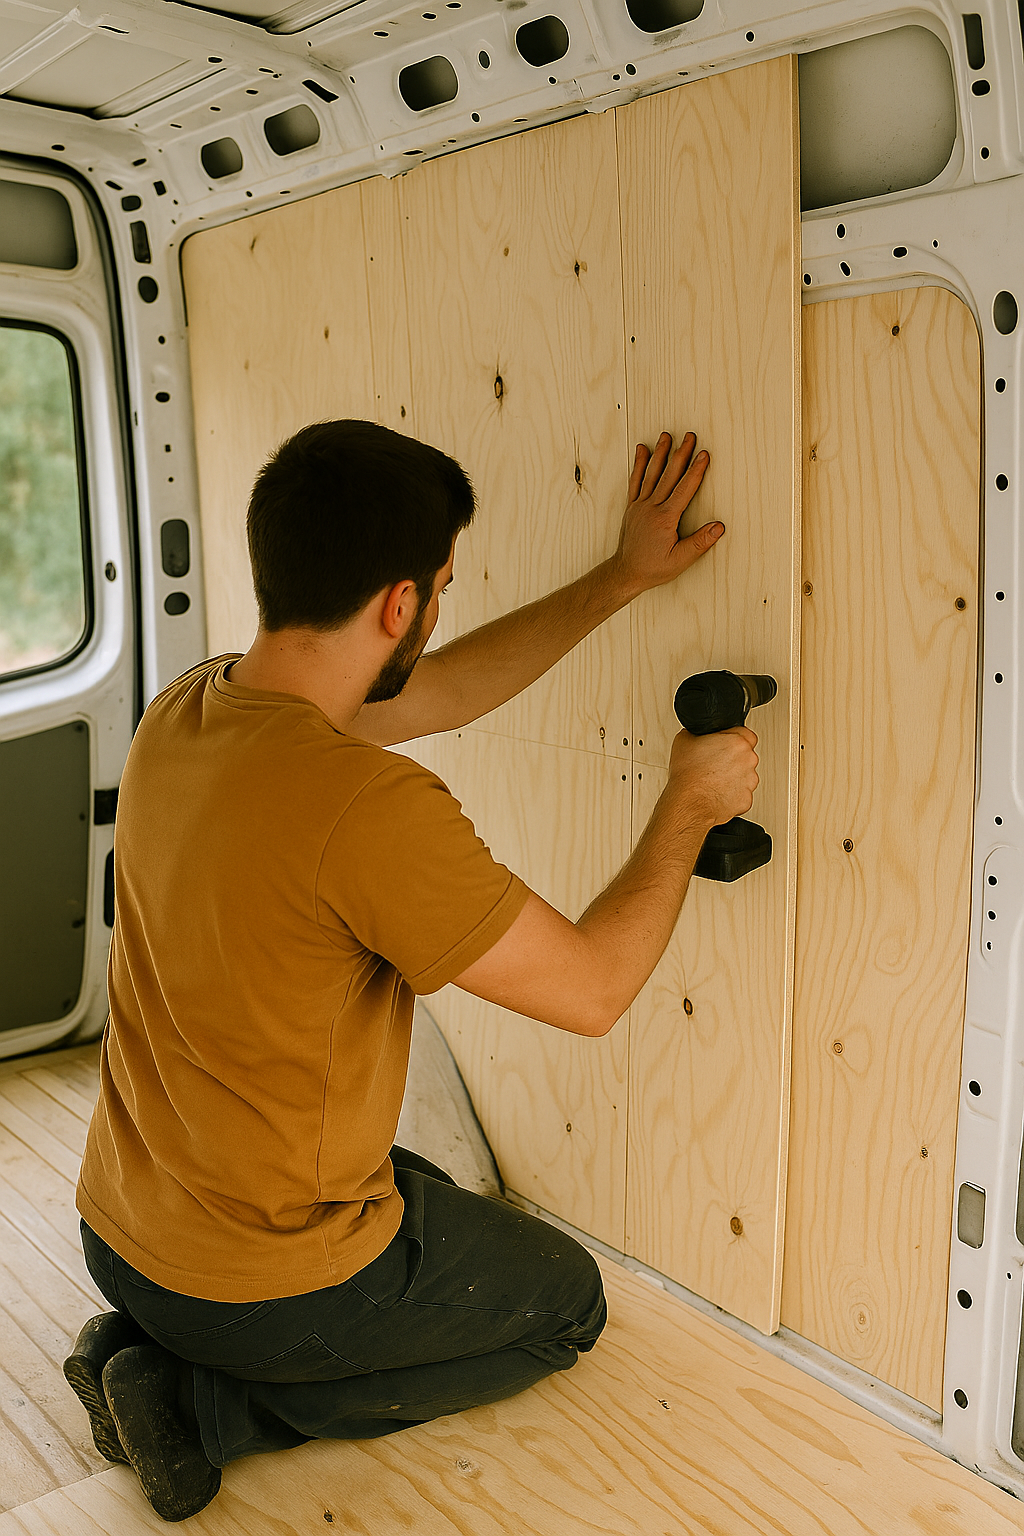
By now, you’ve completed the most difficult and technical parts of your van build — now it’s time for one of the most satisfying stages: framing and paneling your interior. This is where your van finally starts to look like a real home.
At first glance, this step may seem straightforward, but keep in mind: a van is not a perfect box. It’s full of curves, indents, and structural quirks that will challenge your patience and creativity.
Materials Matter — Learn from My Mistakes
This part is definitely doable for anyone, even with basic tools, but it’s all about precision and smart material choices.
In my first build, I used 5 mm pressboard (compressed cardboard-like panel) for the walls and ceiling, thinking it would be light and flexible. Big mistake.
The moment water touched it — even light rain coming in through the doors — it soaked, bubbled, and warped. I had to tear it all down and start over.
Lesson learned: Always use waterproof or moisture-resistant materials, especially near doors, windows, and any condensation-prone zones.
Best Wall & Ceiling Paneling Options
Most vanlifers go for plywood, generally 6–9 mm thick depending on the application.
✅ Plywood
- Pros: Durable, relatively cheap, customizable (paint, stain, wallpaper, etc.)
- Cons: Can be heavy if too thick
✅ Tongue & Groove Pine Planks
- Pros: Beautiful natural look, easy to install with clips or nails, great for ceilings
- Cons: Slightly more expensive, can warp if not sealed properly
✅ PVC Panels / Plastic Cladding
- Pros: Fully waterproof, lightweight, easy to clean
- Cons: Less cozy aesthetic, can feel cheap
✅ Carpeted Plywood
- Pros: Great insulation and stealth, hides imperfections
- Cons: Harder to clean, collects dust and smells over time
Floor Paneling
The subframe of your insulated floor should already be in place. On top of that, most vanlifers install:
- 12 mm plywood for subflooring
- Then either vinyl flooring, laminate planks, or linoleum
Vinyl is the most common — it’s waterproof, lightweight, and easy to clean. Plus, it looks great.
Framing Tips
You’ll need a substructure to mount your walls and ceiling panels to:
- Walls: Lightweight wooden battens (e.g., 20×40 mm) or aluminum profiles
- Ceiling: Same materials — just make sure to anchor them well to the van’s ribs
Some builders screw plywood panels directly onto the van’s metal ribs, but I found this harder and more limiting. Having a small wood or aluminum frame gives you more flexibility and structure.
Around the Doors — The Challenge Zone
The trickiest part? Framing and finishing around your doors. There are no shortcuts here — it’s awkward and time-consuming. But once it’s done, it’s one of the most satisfying transformations in the whole build. Take your time. Scribe carefully. You’ll get there!
Final Thoughts
This is the step where your vision comes to life. Choose materials that match your vibe, lifestyle, and climate. Always prioritize lightweight, waterproof, and durable choices, and don’t forget that framing gives you the backbone of everything you’ll build onto later.
In the next chapter, we’ll dive into another essential and often intimidating system — plumbing. Get ready for water tanks, pumps, and clever design ideas that make van life flow smoothly.